前言
查了很多资料,大家都是业务发展到一定程度了,才需要一个API网关服务来统一处理鉴权、限流等功能。
不过我这边没一个服务呢,搞一个API网关纯属自娱自乐,搞得也不专业,只是顺带学习点后端知识。
特别鸣谢ChatGPT老师提供的技术支持🎉🎉🎉
开始搭建项目
首先安装Nest.js
1
2
| $ npm i -g @nestjs/cli
$ nest new project-name
|
不得不说用了Nest.js之后感觉Koa什么的都是小打小闹。真搞大型项目还得这种高度结构化的框架。
不过回过头来看着眼前这简陋的网关设计和空荡荡的服务接入列表,不禁想起otto那著名的采访
- 你觉得你是大型项目吗?
- 我觉得我是。
接下来安装Consul,这边使用Consul来提供服务发现。
1
2
3
| wget -O- https://apt.releases.hashicorp.com/gpg | sudo gpg --dearmor -o /usr/share/keyrings/hashicorp-archive-keyring.gpg
echo "deb [signed-by=/usr/share/keyrings/hashicorp-archive-keyring.gpg] https://apt.releases.hashicorp.com $(lsb_release -cs) main" | sudo tee /etc/apt/sources.list.d/hashicorp.list
sudo apt update && sudo apt install consul
|
验证安装
创建配置文件
Consul 使用的默认配置目录是 /etc/consul.d/,可以在这里放置多个配置文件。
1
2
3
4
5
6
7
8
9
10
11
| {
"datacenter": "dc1",
"node_name": "node1",
"server": true,
"bootstrap_expect": 1,
"data_dir": "/var/consul",
"bind_addr": "0.0.0.0",
"client_addr": "0.0.0.0",
"advertise_addr": "192.168.1.100",
"ui": true
}
|
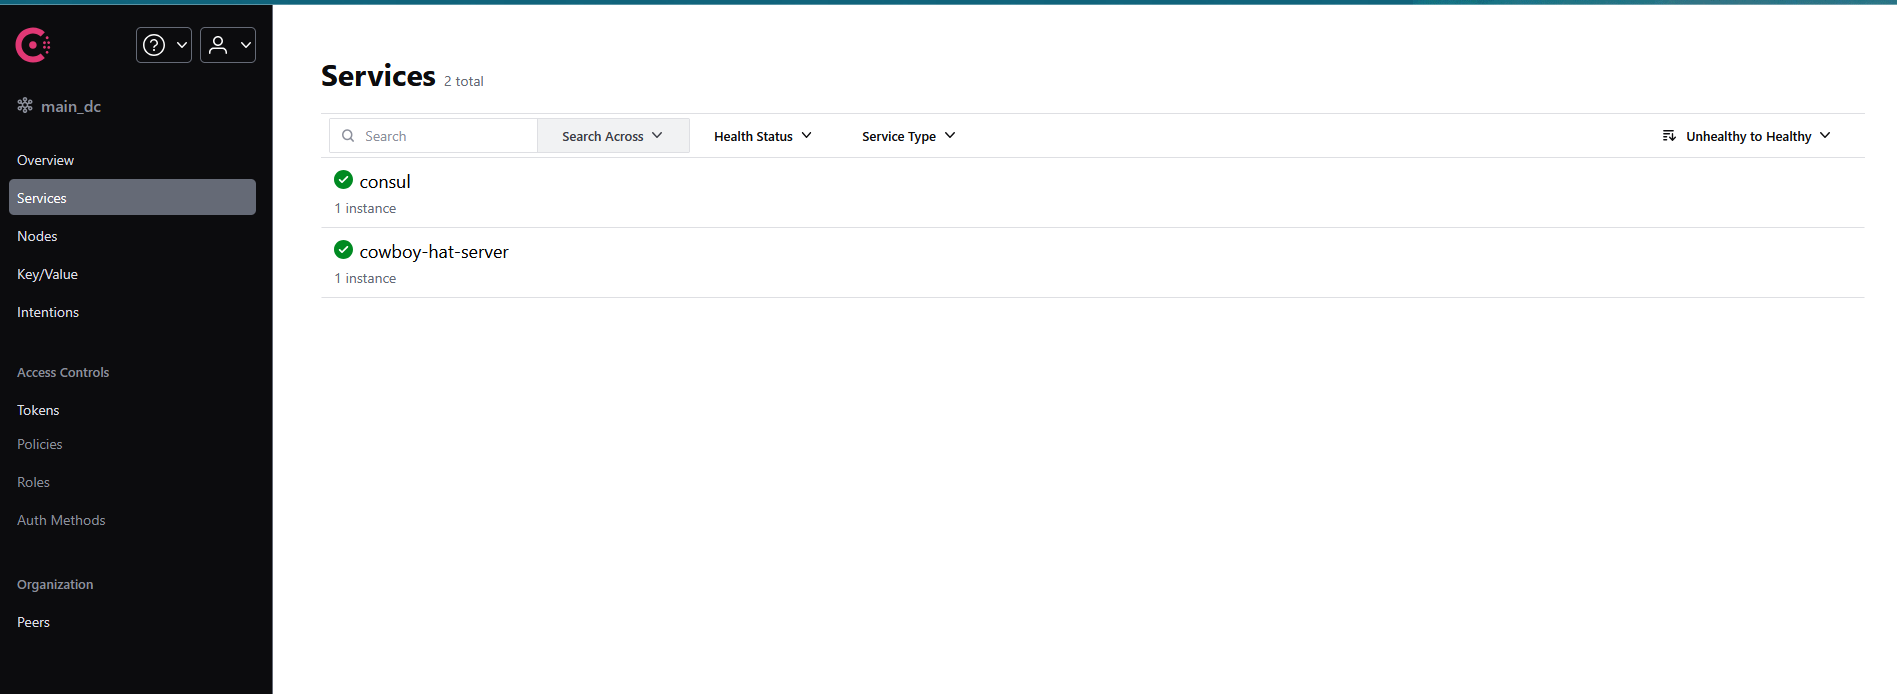
这里主要设置了绑定的ip地址,使用0.0.0.0让任意ip都可以连接。然后把ui字段设为了true,这样就有后台界面了
consul默认端口是8500,访问localhost:8500就能看到它的后台了
健康检查
Consul需要配置健康检查的接口以确定服务是正常的
安装依赖
1
| pnpm i @nestjs/terminus @nestjs/axios
|
编写HealthController
1
2
3
4
5
6
7
8
9
10
11
12
13
14
15
16
17
18
| import { Controller, Get } from '@nestjs/common';
import { HealthCheck, HealthCheckService, HttpHealthIndicator } from '@nestjs/terminus';
@Controller('health')
export class HealthController {
constructor(
private health: HealthCheckService,
private http: HttpHealthIndicator,
) {}
@Get()
@HealthCheck()
check() {
return this.health.check([
() => this.http.pingCheck('nestjs-docs', 'https://docs.nestjs.com'),
]);
}
}
|
导入
1
2
3
4
5
6
7
8
9
10
11
12
13
|
import { Module } from '@nestjs/common';
import { TerminusModule } from '@nestjs/terminus';
import { HttpModule } from '@nestjs/axios';
import { HealthController } from './health.controller';
@Module({
imports: [TerminusModule, HttpModule],
controllers: [HealthController],
})
export class AppModule {}
|
启动项目查看健康检查是否生效
1
| http://localhost:3000/health
|
连接Consul
安装依赖
1
| npm install @nestjs/microservices consul
|
@nestjs/microservices:Nest.js 的微服务模块,用于服务发现和注册。consul:用于和 Consul 交互的库。
consul以及当前服务的配置,网关服务和子服务都可以使用这一套代码连接consul
1
2
3
4
5
6
7
8
9
10
11
12
13
14
15
16
17
18
19
20
21
22
23
24
25
26
27
28
29
30
31
32
33
34
35
36
37
38
39
40
41
42
43
44
45
46
47
48
49
50
51
52
|
import { Injectable } from "@nestjs/common"
import * as Consul from "consul"
@Injectable()
export class ConsulService {
private consul: Consul.Consul
constructor() {
this.consul = new Consul({
host: "127.0.0.1",
port: "8500",
promisify: true,
})
}
async registerService() {
const serviceName = "cowboy-hat-server"
await this.consul.agent.service.register({
id: serviceName,
name: serviceName,
address: "localhost",
port: 3000,
check: {
http: "http://localhost:3000/health",
interval: "10s",
timeout: "5s",
},
} as any)
console.log(`服务 ${serviceName} 成功注册到Consul.`)
}
async deregisterService() {
const serviceName = "cowboy-hat-server"
await this.consul.agent.service.deregister(serviceName)
console.log(`服务 ${serviceName} 注销.`)
}
}
|
启动与consul的连接
1
2
3
4
5
6
7
8
9
10
11
12
13
14
15
16
17
18
19
20
|
import { Module, OnModuleDestroy, OnModuleInit } from "@nestjs/common"
import { ConsulService } from "./consul.service"
@Module({
providers: [ConsulService],
})
export class ConsulModule implements OnModuleInit, OnModuleDestroy {
constructor(private readonly consulService: ConsulService) {}
async onModuleInit() {
await this.consulService.registerService()
}
async onModuleDestroy() {
await this.consulService.deregisterService()
}
}
|
写了个网关的Controller
如果已经有了多个服务注册在consul上
那么可以通过注册的服务名找到其他服务
1
2
3
4
5
6
| export class GatewayController {
constructor(private readonly consulService: ConsulService) {}
async getInstances(serviceName: string) {
const instances = await this.consulService.getServiceInstances(serviceName)
}
}
|
instances是个数组因为服务可能运行在多个实例上
选择一个实例,也可以考虑实现一个简单的负载均衡
1
| const instance = instances[0]
|
转发请求
给网关Controller加上/api前缀
这里用url参数匹配了/api后面的路径作为服务名去找服务
访问主服务的所有/api路径开头的api都会经过一层转发给子服务
例如/api/auth,那么就会去找名为auth的子服务,这需要子服务在上面注册服务的代码里设置name字段为”auth”
1
2
3
4
5
6
7
8
9
10
11
12
13
14
15
16
17
18
19
20
21
22
23
24
25
26
27
28
29
30
31
32
33
34
35
36
37
38
39
40
41
42
43
44
45
46
47
48
49
50
51
52
53
54
55
56
57
58
| @Controller("api")
export class GatewayController {
constructor(
private readonly consulService: ConsulService,
private readonly httpService: HttpService,
) {}
@All(":serviceName/*")
async handleRequest(
@Param("serviceName") serviceName: string,
@Req() req: Request,
@Res() res: Response,
) {
const path = req.params[0]
const instances = await this.consulService.getServiceInstances(serviceName)
if (instances.length === 0) {
res.status(404).send("找不到服务")
return
}
const instance = instances[0] as any
const targetUrl = `http://${instance.ServiceAddress}:${instance.ServicePort}/${path}`
try {
const response = await lastValueFrom(
this.httpService.request({
method: req.method,
url: targetUrl,
headers: { ...req.headers, "content-length": undefined },
data: req.body,
timeout: 5000,
}),
)
res.header(response.headers).status(response.status).send(response.data)
} catch (error) {
res
.status(error.response?.status || 500)
.send(error.message || error.response?.data || "Internal server error")
}
}
}
|
鉴权
写一个守卫,作用是从header中读取到jwt token,然后再解析jwt是否正确。
不正确的话直接返回401。正确的话我这里选择将jwt携带的uid挂在转发的header里方便子服务读取
公司里的网关就是这么设计的,所以刚来的时候出现鉴权问题后端经常问我有没有带鉴权的Header,我看了半天控制台发送的请求就是没有,还以为我哪里搞错了。后来才知道这个Header是网关加的,前端根本不用处理。
1
2
3
4
5
6
7
8
9
10
11
12
13
14
15
16
17
18
19
20
21
22
23
24
25
26
27
28
29
30
31
32
| @Injectable()
export class AuthGuard implements CanActivate {
constructor(private jwtService: JwtService) {}
private extractTokenFromHeader(request: Request): string | undefined {
const cookie = request.headers.cookie;
const token = parseCookies(cookie)[CookieName.COWBOY_HAT];
return token;
}
async canActivate(context: ExecutionContext): Promise<boolean> {
const request = context.switchToHttp().getRequest();
if (whitelist.includes(`${request.method}:${request.url}`)) {
return true;
}
const token = this.extractTokenFromHeader(request);
if (!token) {
throw new UnauthorizedException();
}
try {
const payload = await this.jwtService.verifyAsync(token, {
secret: jwtConstants.secret,
});
request.headers[HeaderName.CH_USER] = payload.sub;
} catch (e) {
console.error(e);
throw new UnauthorizedException();
}
return true;
}
}
|
接下来给网关的Controller加上这层守卫,这样所有转发的api都需要鉴权了。
1
2
3
4
5
| @Controller('api')
@UseGuards(AuthGuard)
export class GatewayController {
}
|
至于那些不需要鉴权的api,我这边写了个白名单,在白名单里的直接方向。我觉得做成支持通配更好,这个后面再说吧。
1
2
3
4
5
6
7
8
| async canActivate(context: ExecutionContext): Promise<boolean> {
const request = context.switchToHttp().getRequest();
if (whitelist.includes(`${request.method}:${request.url}`)) {
return true;
}
}
|